I thought it would be useful to have an Active Directory lab environment set up for testing different scenarios. This series will look at setting up a fully functioning Active Directory domain using headless servers. The rationale for that is most people don’t have servers lying around to be used for test/dev environments. Chances are, all most people will have is 1 physical machine, which may even be their main PC.
So, let’s get started.
Windows Server 2019 is the current standard and with a 180 day eval, it will do nicely. The ISO is available here. Before you can download it you have to answer some questions…
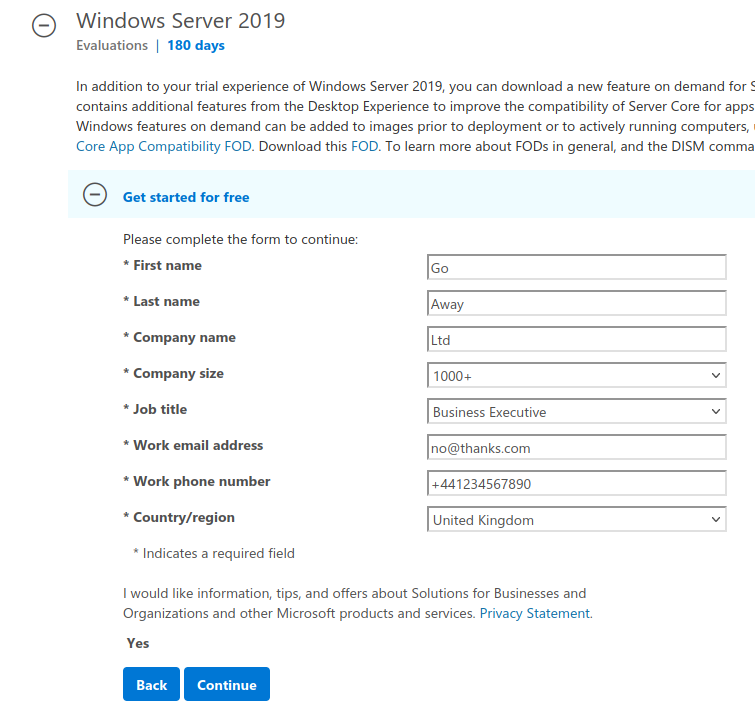
Click Continue, select your language and then Download. Or use this direct download link
Once the ISO has downloaded, Launch VirtualBox, click on the Machine menu and then New…
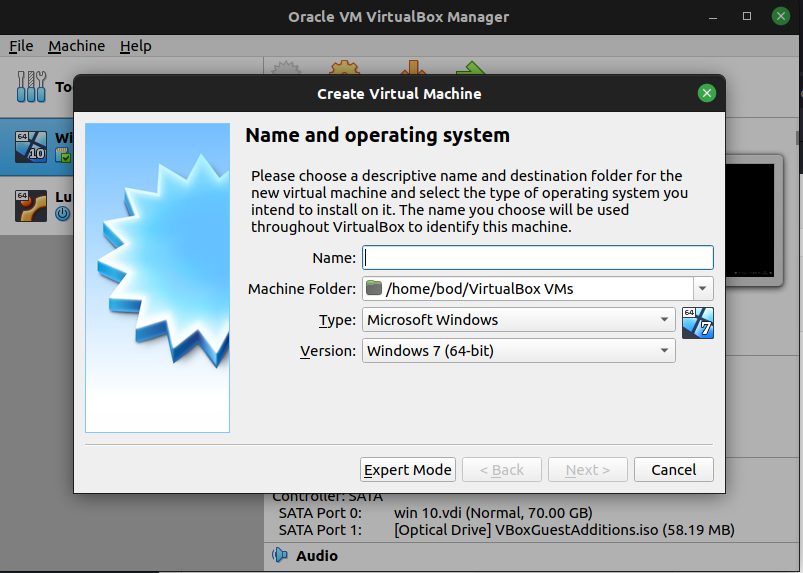
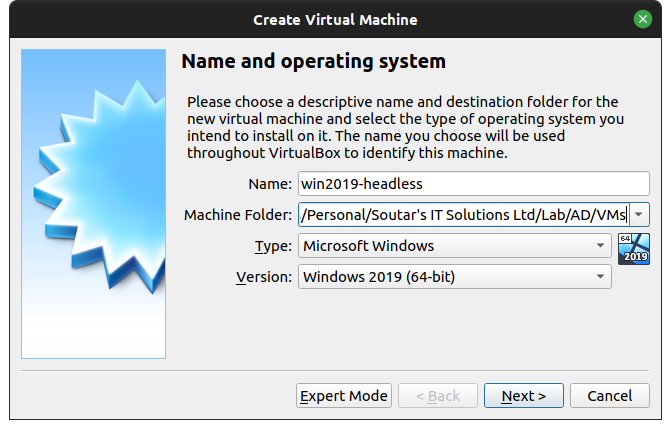
Enter a Name, choose a folder location to store the VM files, ensure Microsoft Windows is selected as the Type, ensure Version is Windows 2019 (64-bit)
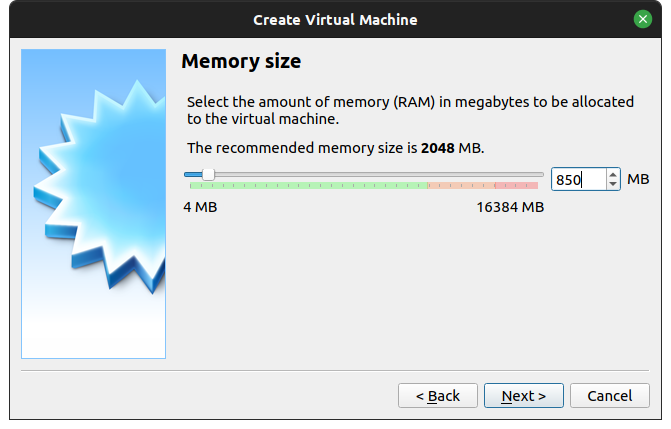
Click Next, Select 750MB for RAM and click Next. If you enter anything less then you will receive an error message about available memory for RAMDISK when you try to boot the machine.
Select Create a virtual hard disk now and click Create
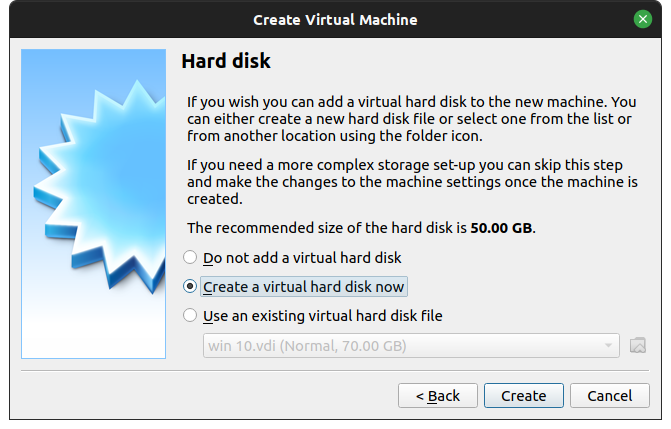
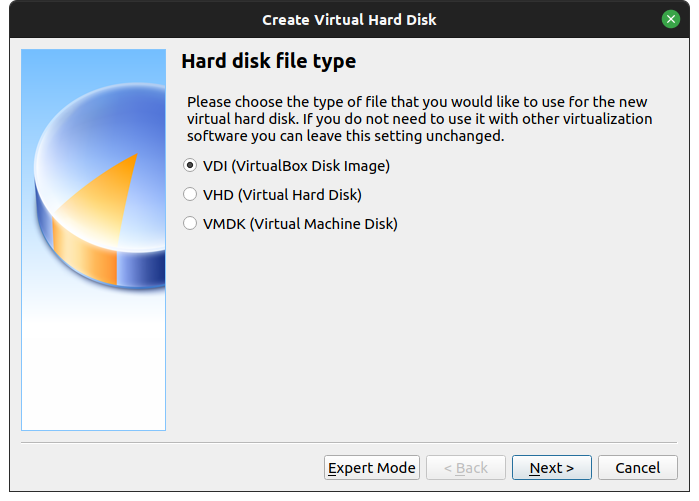
Keep the default selection of VDI and click Next
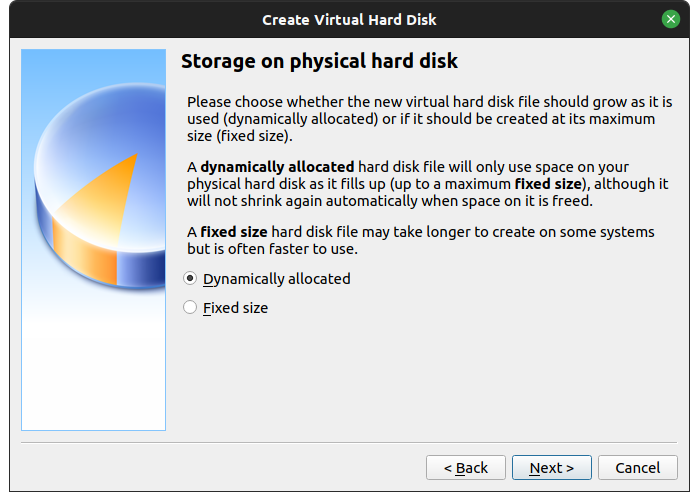
Keep the default selection of Dynamically allocated and click Next
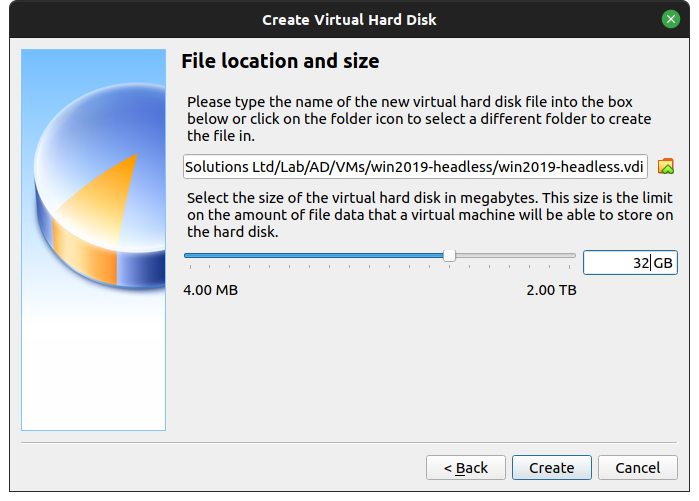
Set your desired location for the virtual disk files, and set the Size to 32GB. Don’t worry, it won’t take up 32GB, that’s just the maximum that VirtualBox will allow the file to grow to. It needs to pretend to be that size so that Windows will install without complaint. Click Create
Ensure the newly defined machine is selected and then click Settings
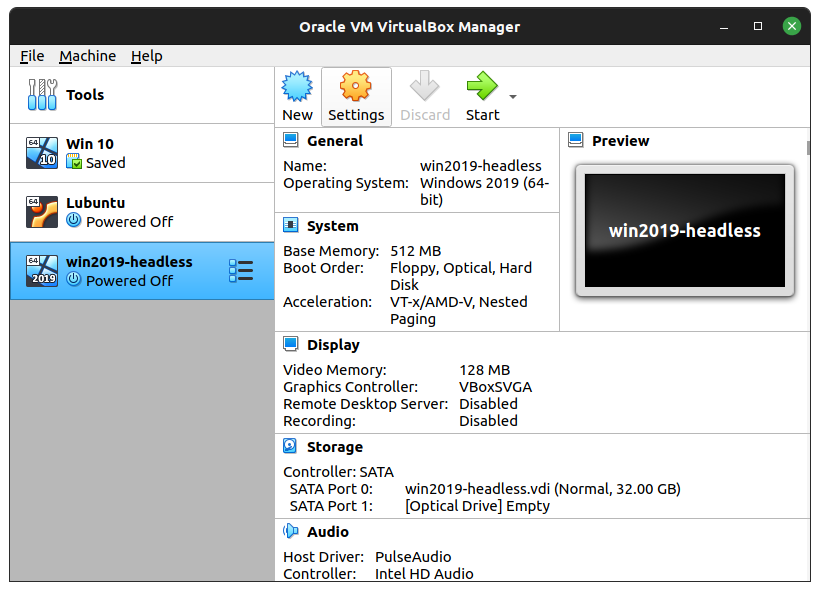
Select Storage from the left hand side, then the Empty CD icon under the Controller: SATA in the middle pane. Click the CD icon on the far right hand side and select Choose a disk file…
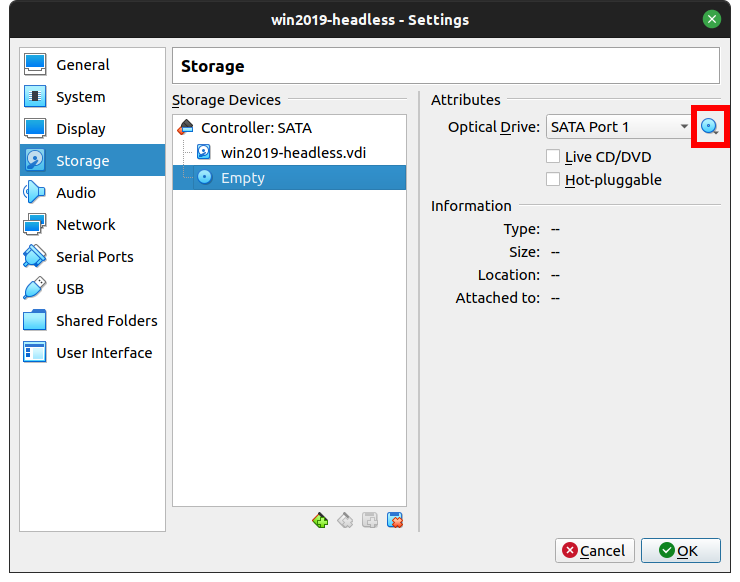
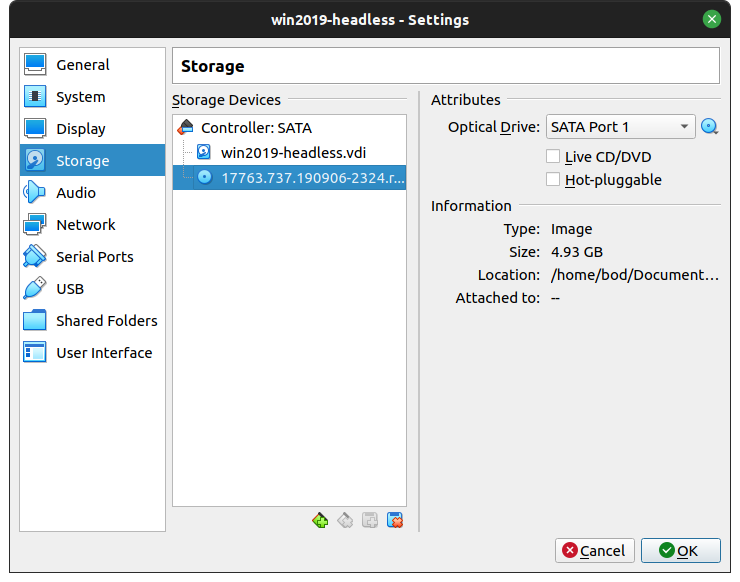
Select the Server 2019 ISO and click Open. Click OK to finish editing the settings.
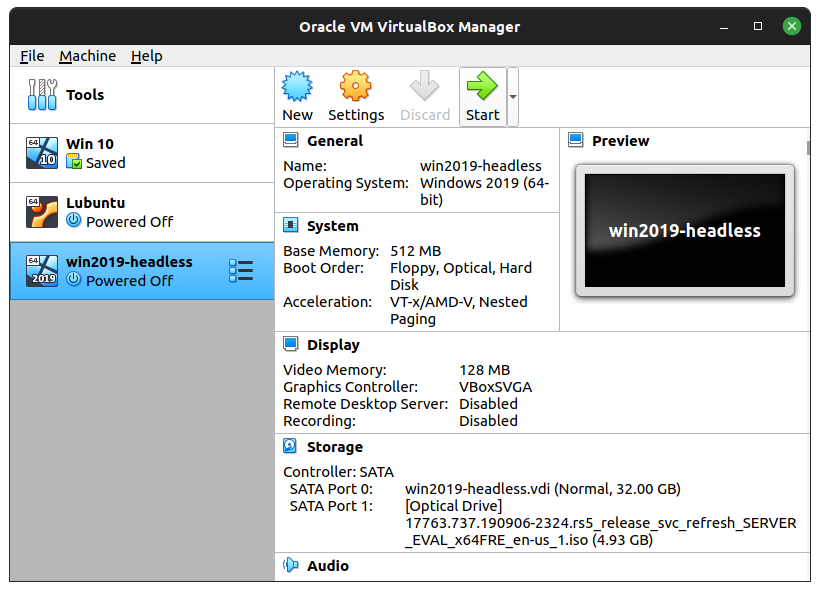
Ensure the new machine is selected and click Start
When the machine starts for the first time it will prompt for boot media. This should already be populated, so click Start
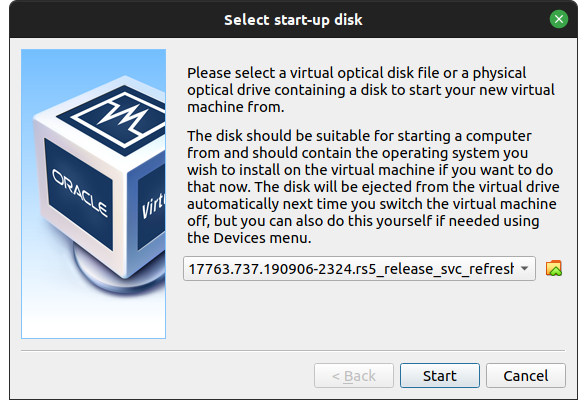
Select your desired locale settings and click Next
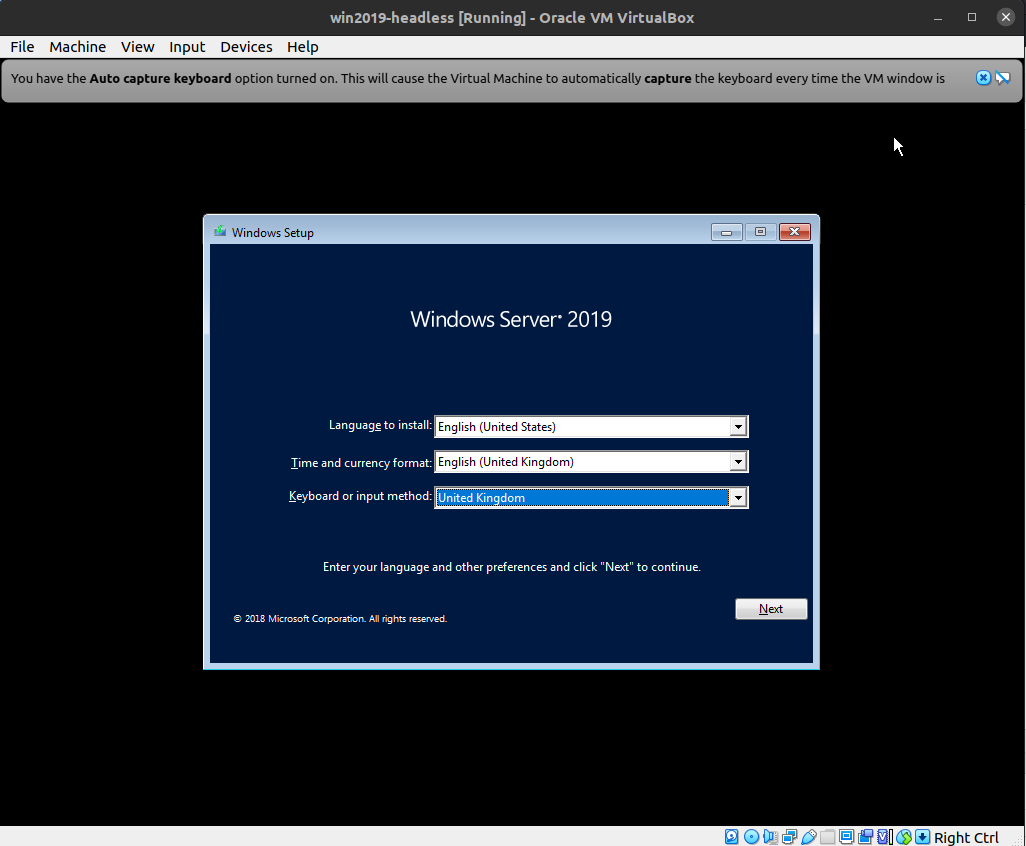
Click Install Now
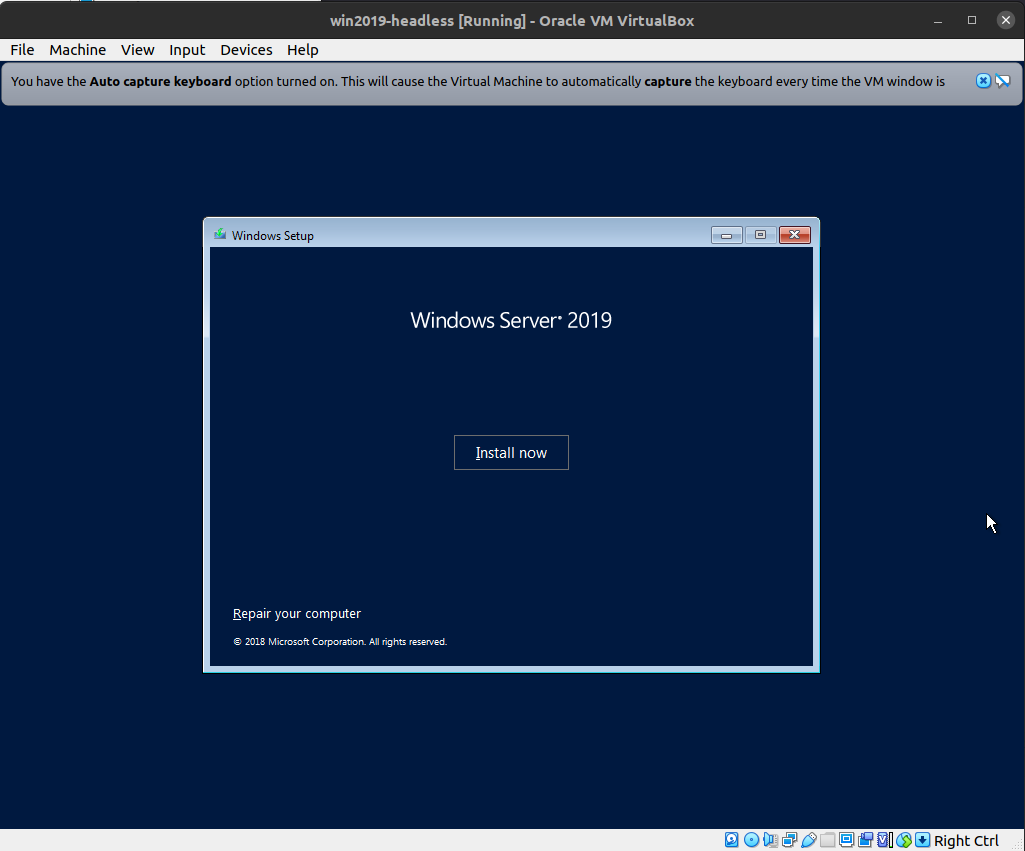
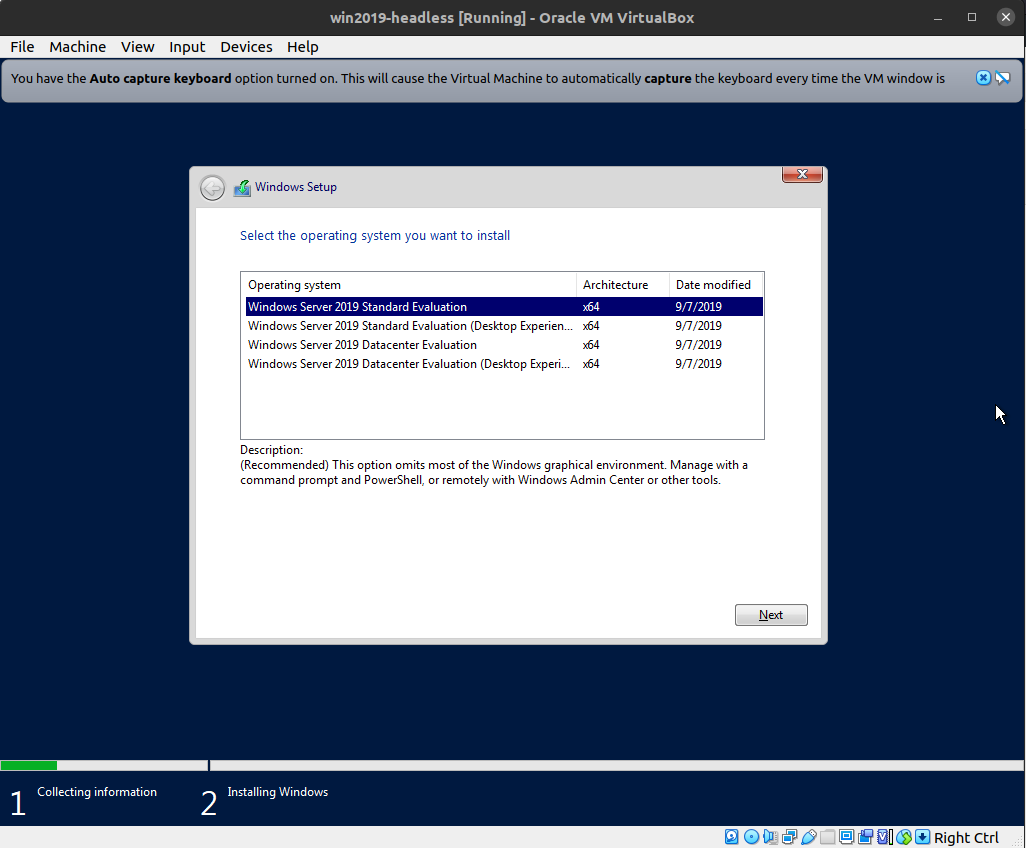
Select either Standard or Datacenter edition, but do not choose the options with Desktop Experience in the name. Click Next
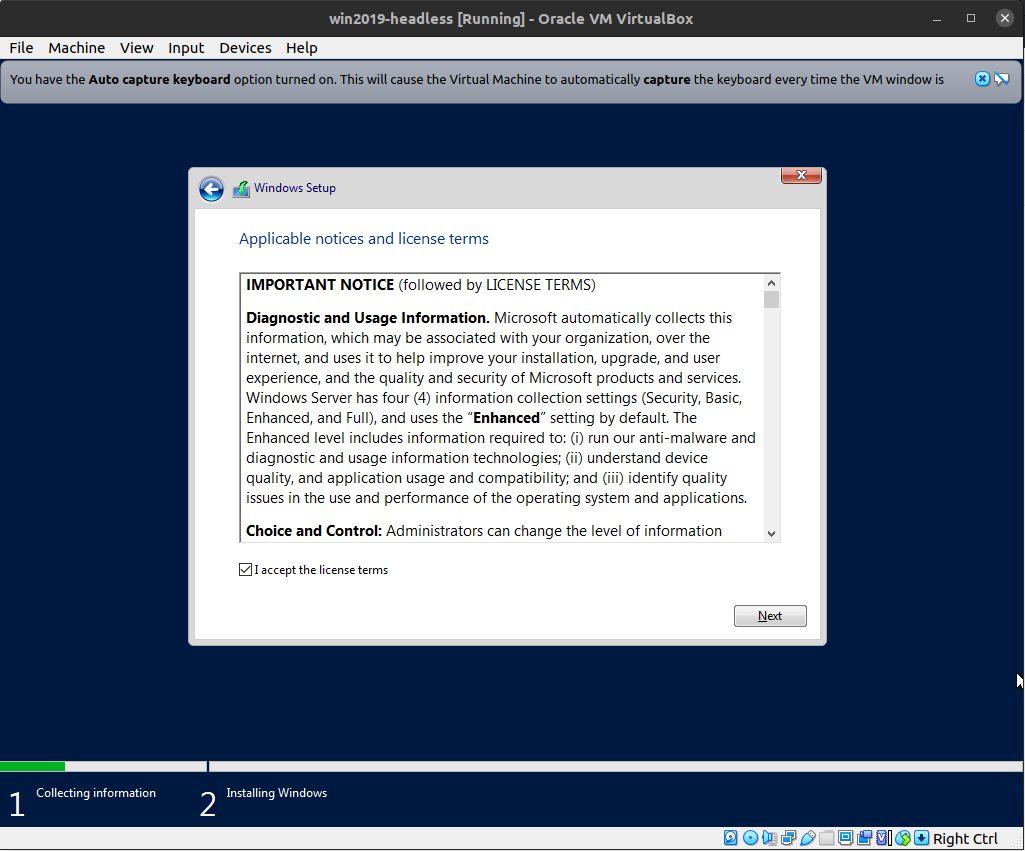
Accept the license terms and click Next
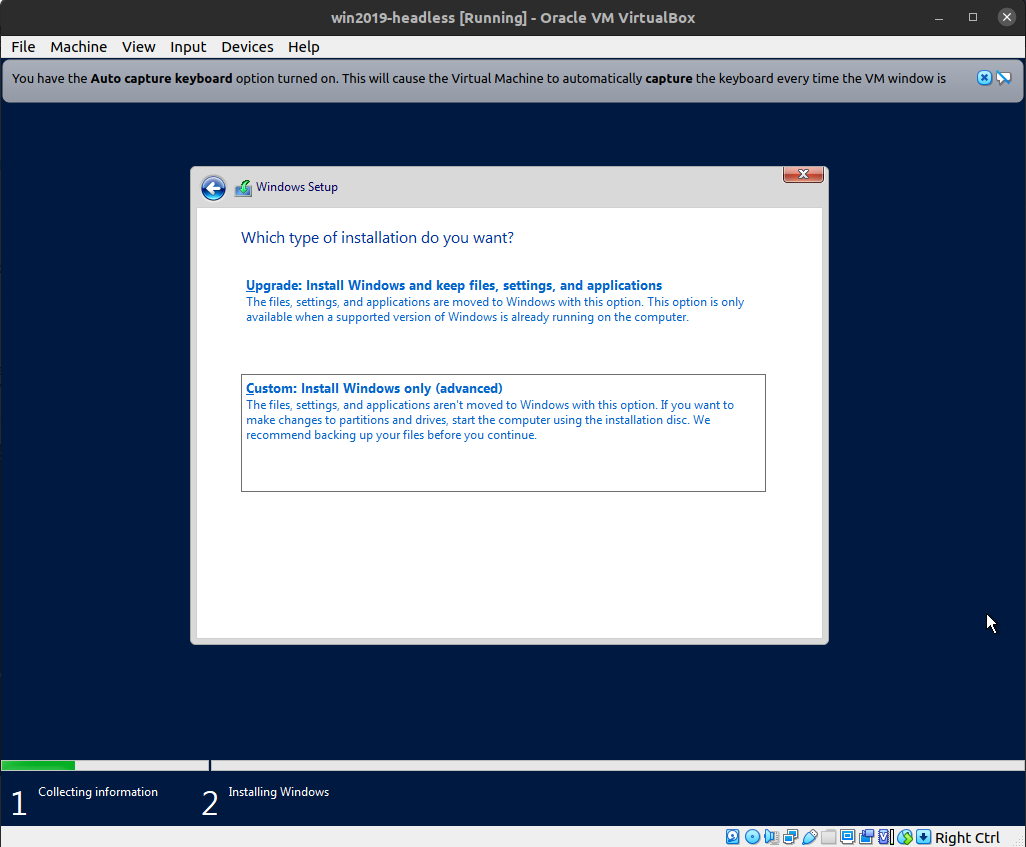
Choose Custom
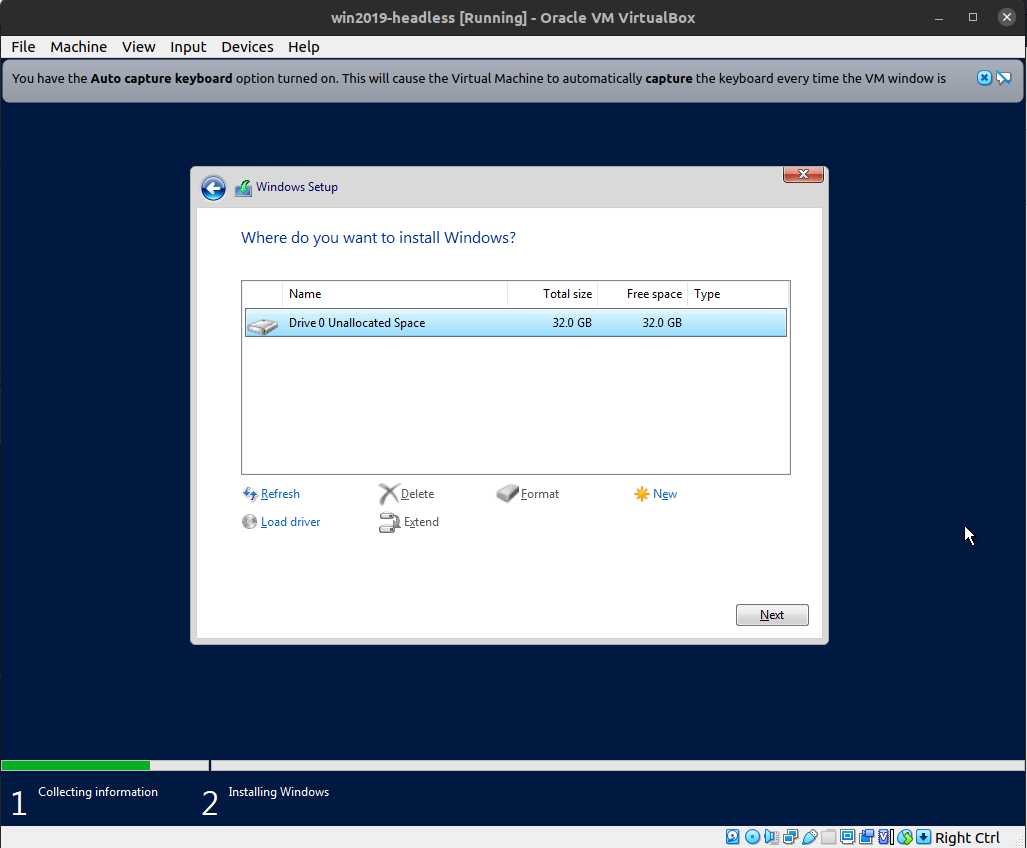
If you had multiple disks or want a specific partition layout, create it here. Making no changes and clicking Next will use the whole disk
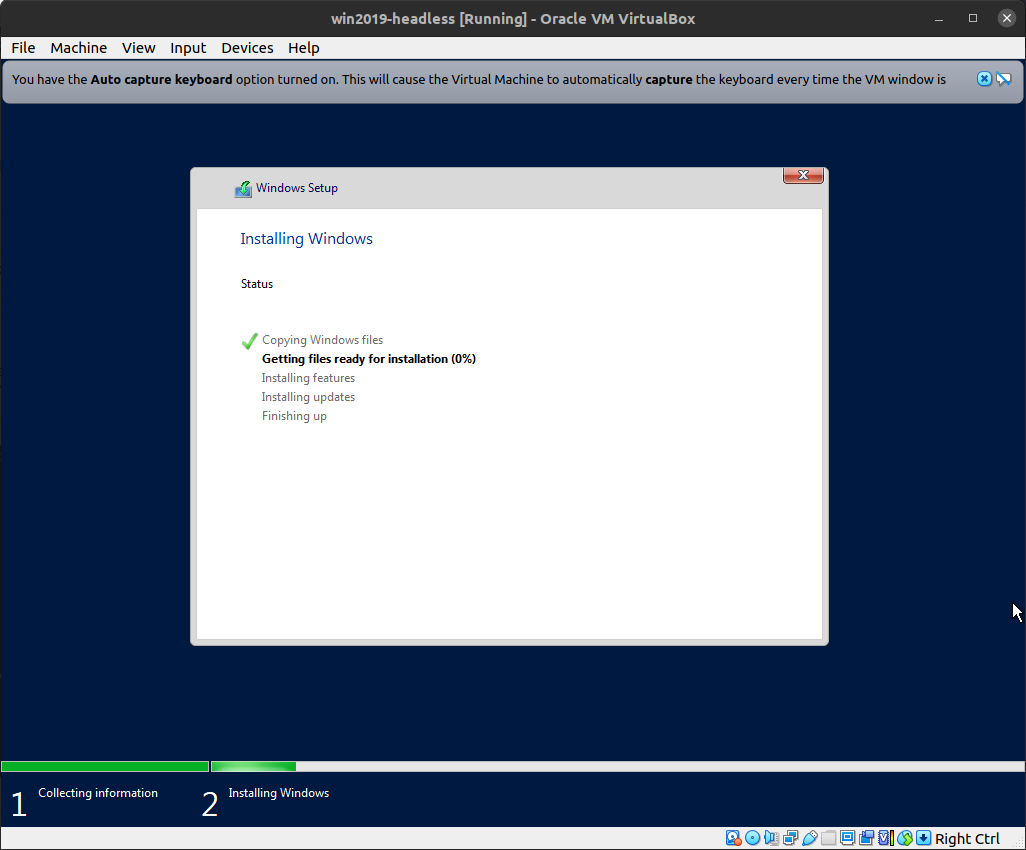
The installer then follows it’s normal process and reboots when complete.
Once the server is online your greeted with a ctrl-alt-del screen. You can input ctrl-alt-del in VirtualBox either from the input menu or via Host+Del (Host is normally right-ctrl)
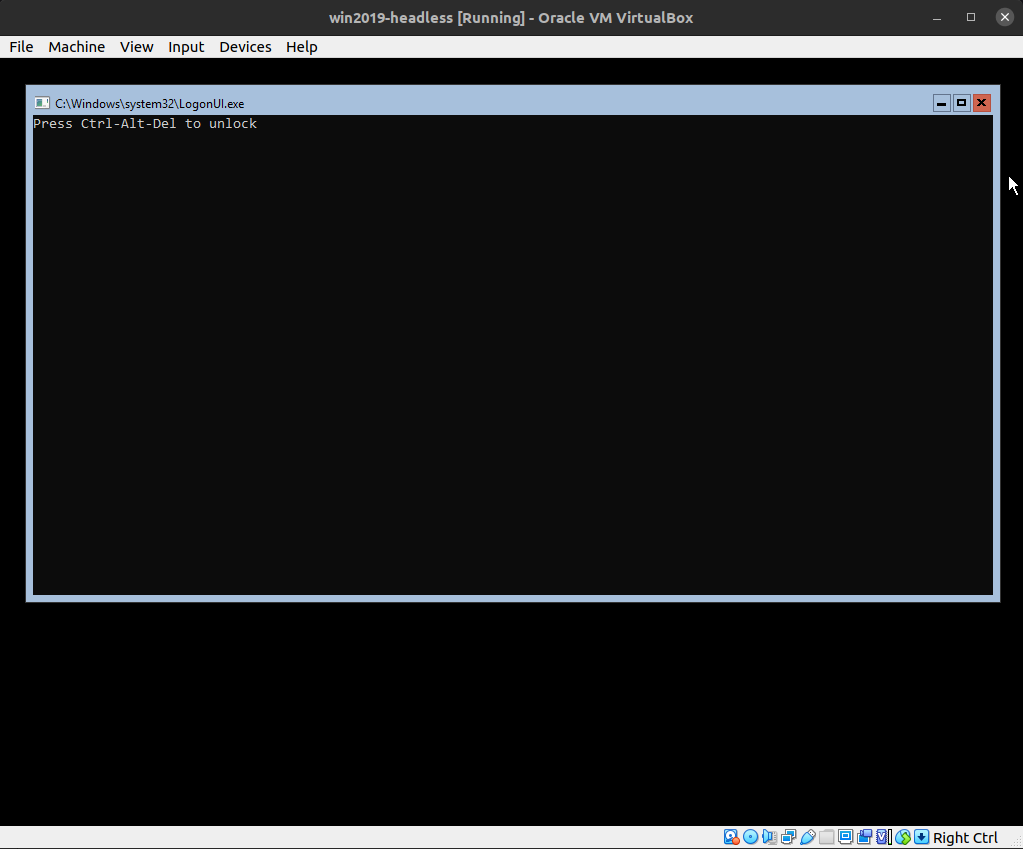
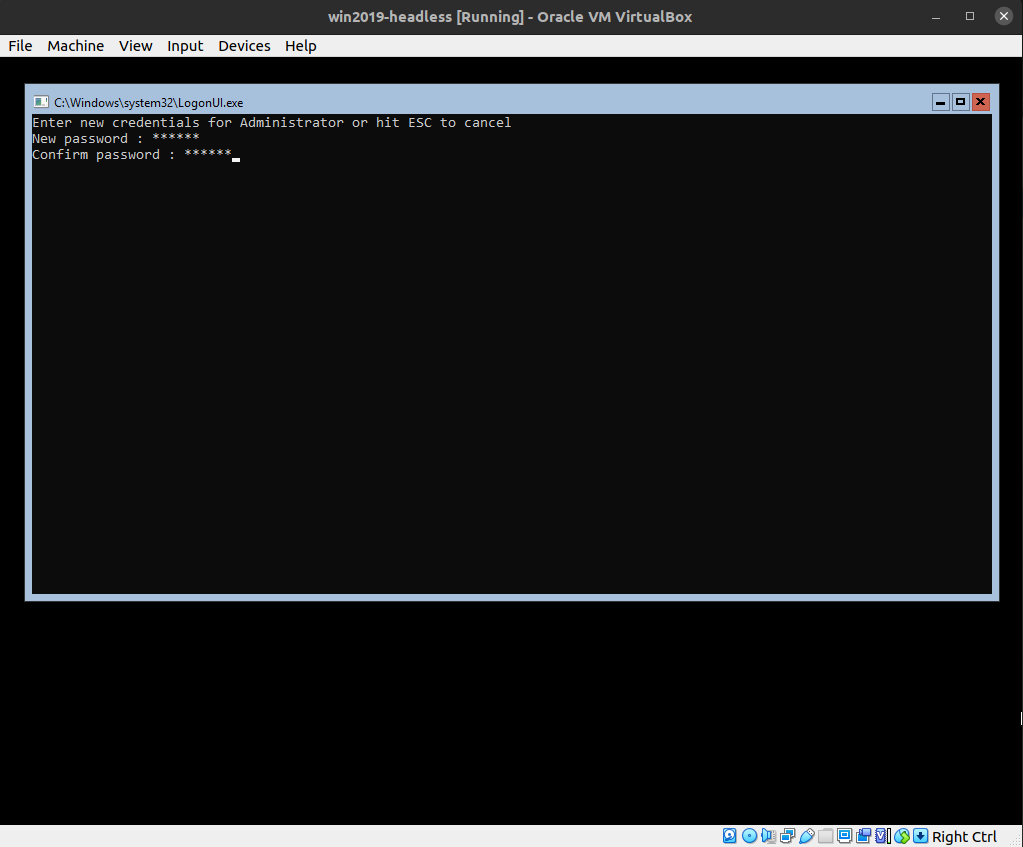
Enter new credentials for your Administrator account, confirm, and then click OK on the confirmation prompt
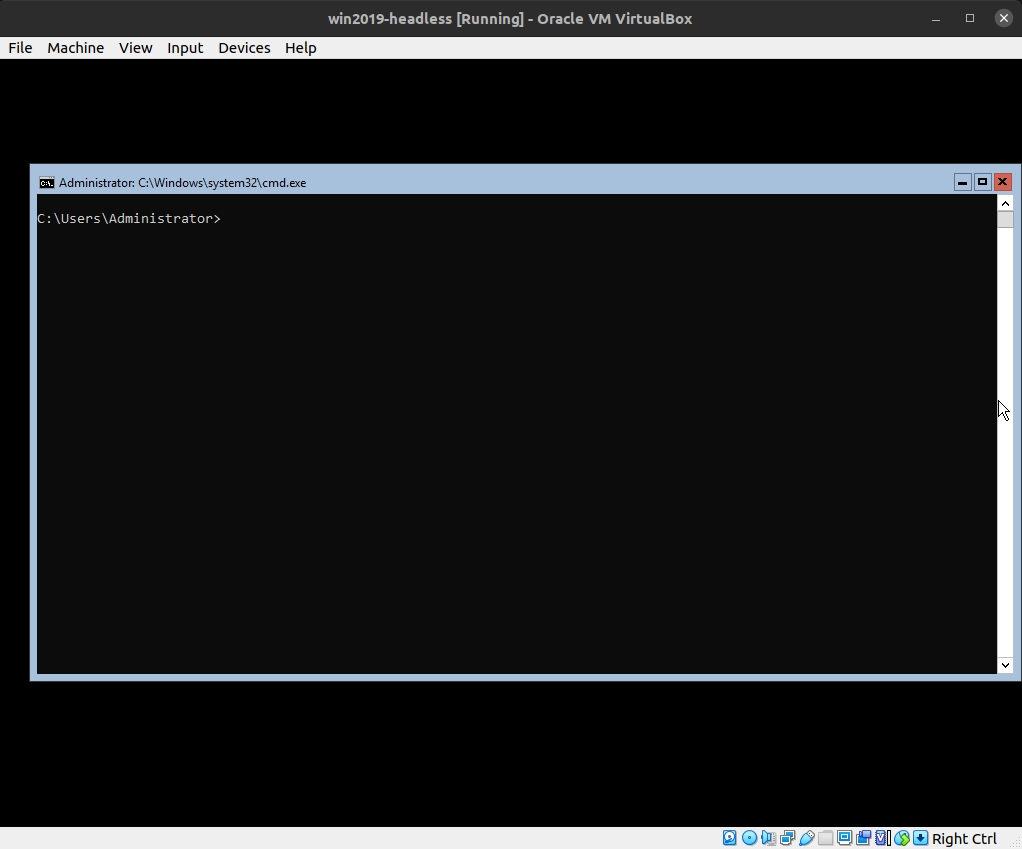
You will now be presented with an administrative command prompt.
Running the command sconfig will bring you to an interactive setup menu. From here we are going to change the computer name, set a static IP and reboot
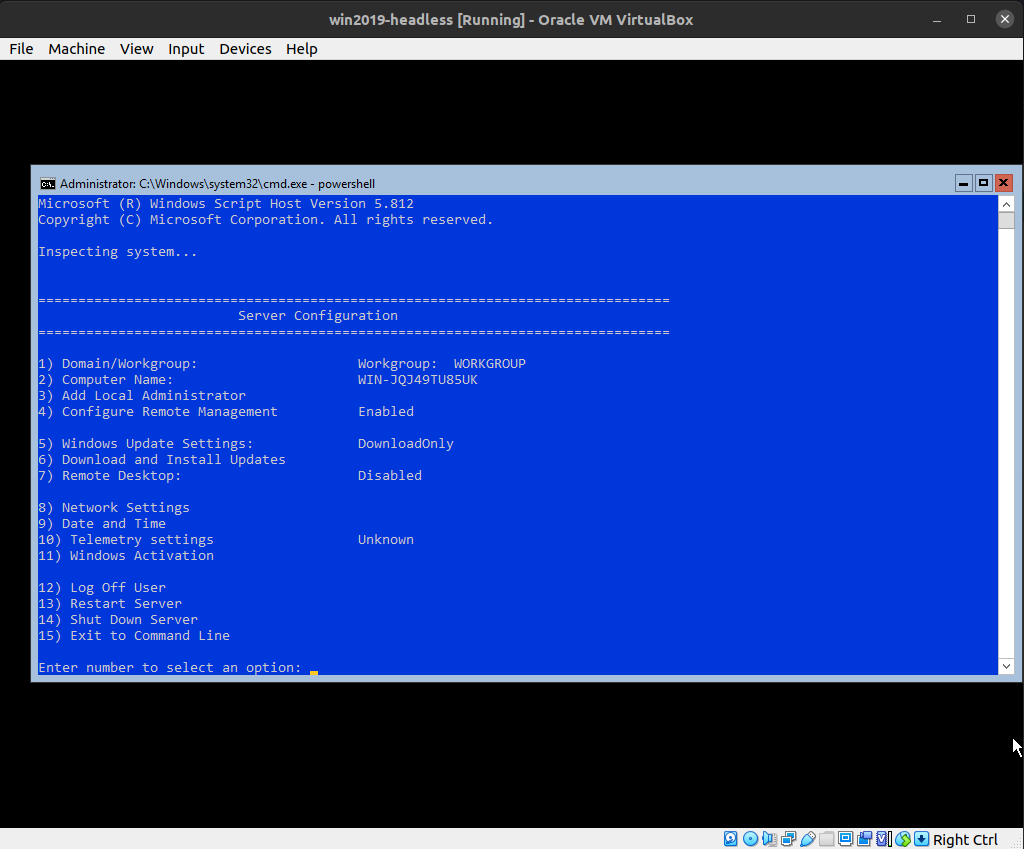
Press 8 and then Enter to bring up the network configuration
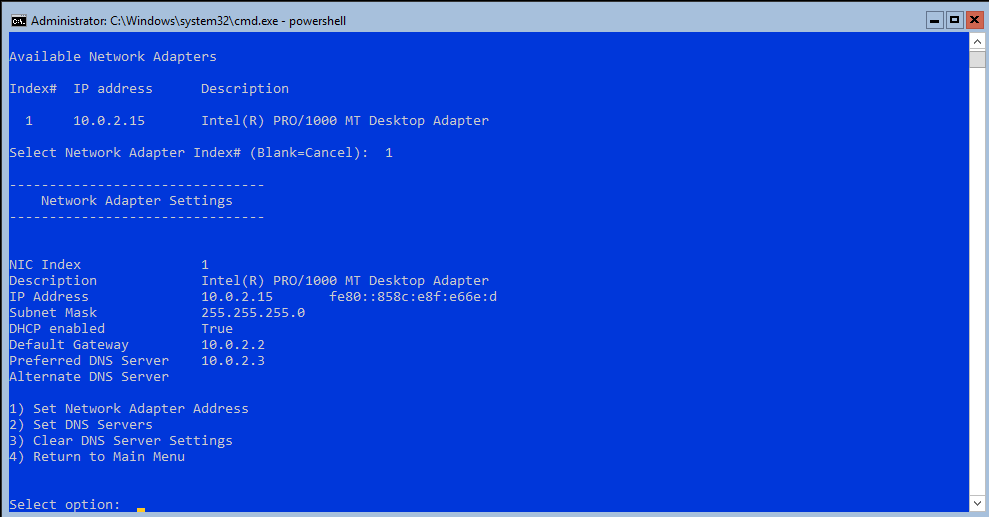
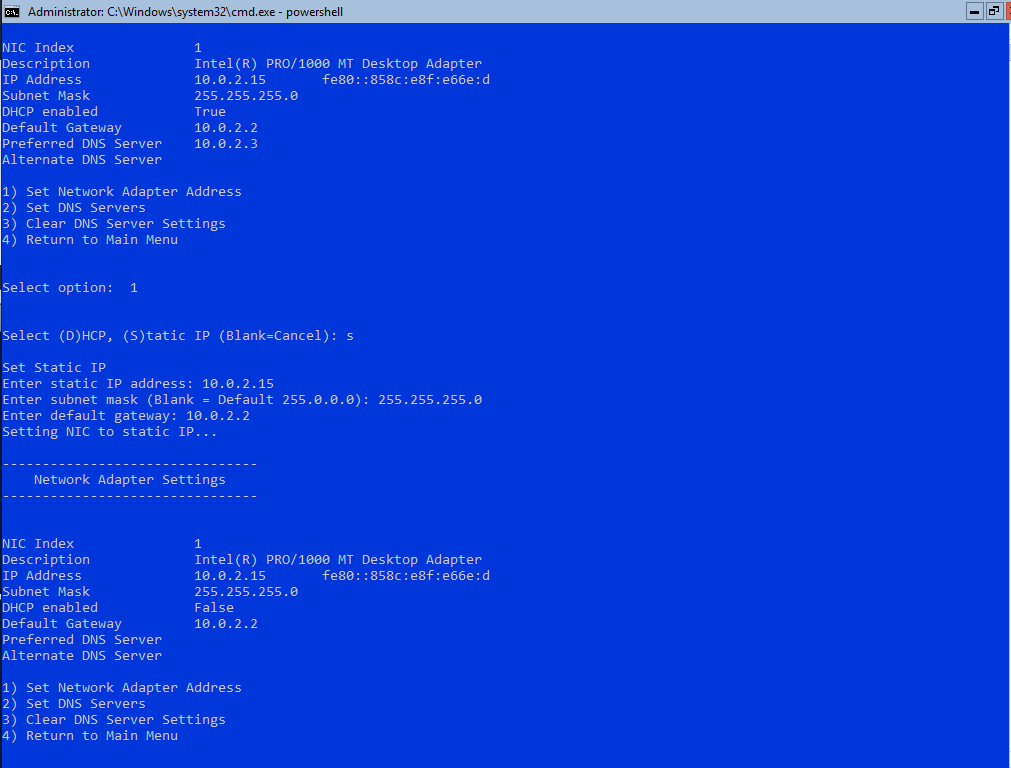
Press 1 and then Enter to set the Network Adapter Address. Use whatever static IP you have available, or if unsure just use the DHCP information outputted at the top of the window.
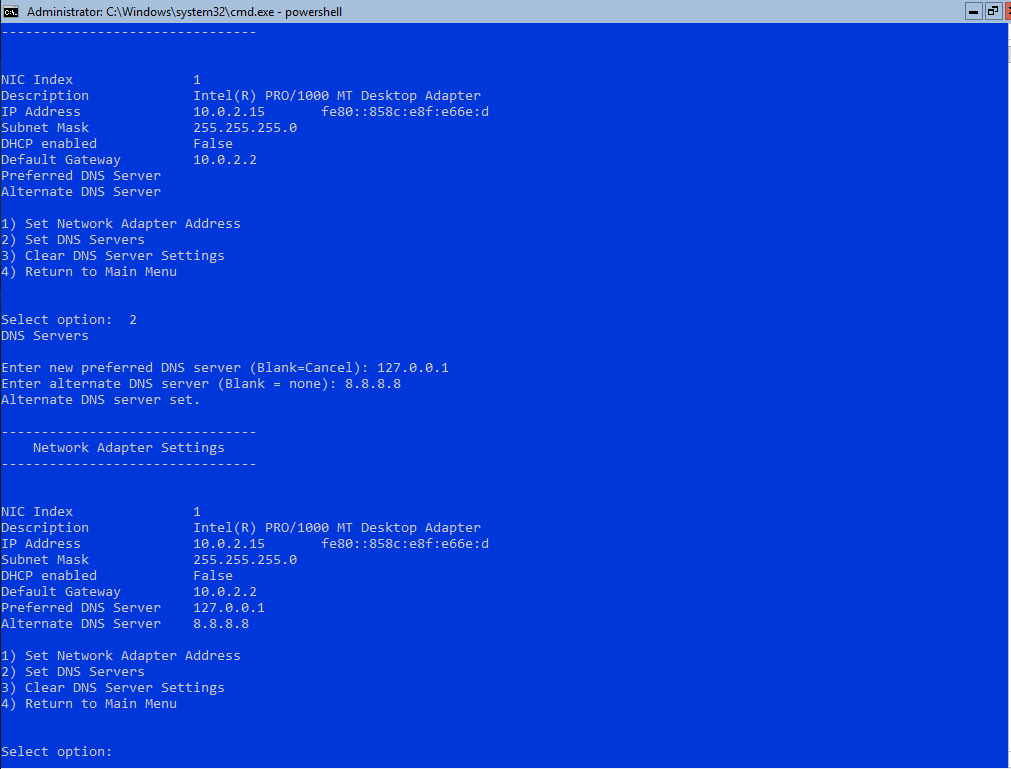
Press 2 and then Enter to configure DNS. Enter 127.0.0.1 as the primary and 8.8.8.8 as the secondary. This will mean the server will use itself as it’s primary DNS server and Google as its secondary. When you’re finished, press 4 and Enter to return to the main sconfig menu.
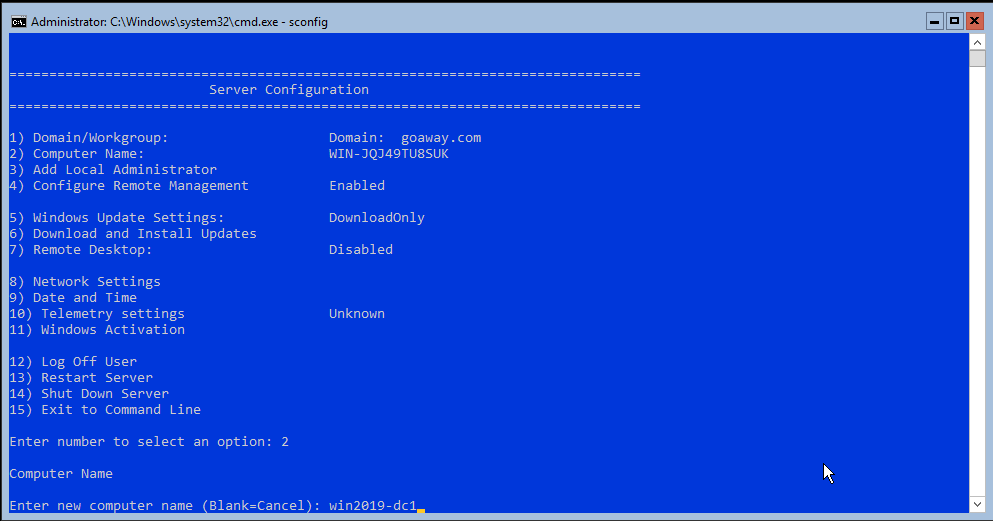
Press 2 and Enter to enter the Computer Name configuration. Enter the new name and press Enter. You’ll be prompted for a password before the name change completes. Once done enter 13 and Enter to reboot
When the server comes back online, log in. It’s now time to create our domain. First thing we need is the Feature. Enter the command powershell to enter a powershell session and then run Install-WindowsFeature AD-Domain-Services
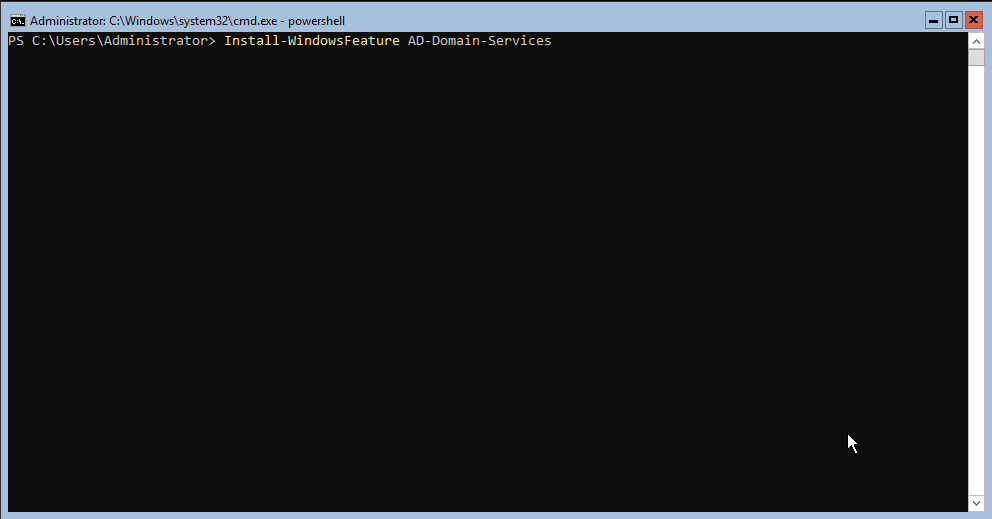
Once complete we are going to create our domain. The full list of parameters for this command are available here. The command is:
Install-ADDSForest -DomainMode 7 -DomainName goaway.com -DomainNetbiosName ga -ForestMode 7
| Install-ADDSForest | cmdlet |
| -DomainMode 7 | Domain functional level Serer 2016 |
| -DomainName goaway.com | Sets the domain name to goaway.com |
| -DomainNetbiosName ga | Sets the NetBios name (or shortname) to ga |
| -ForestMode 7 | Sets the forest level to Server 2016 |

Press A and Enter to answer Yes to all questions for the domain creation

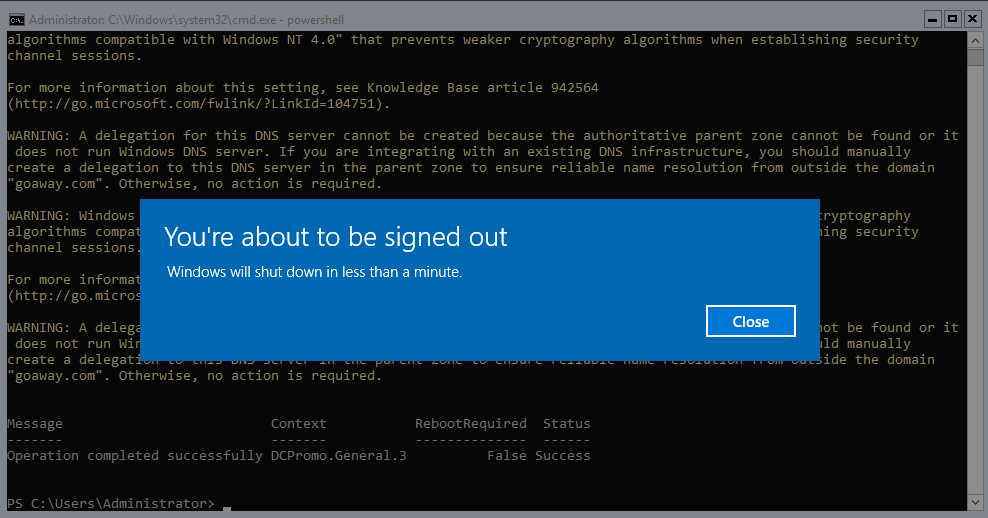
The forest will now be created and your server configured as the first Domain Controller. There will be some warnings present during this process, which can be safely ignored
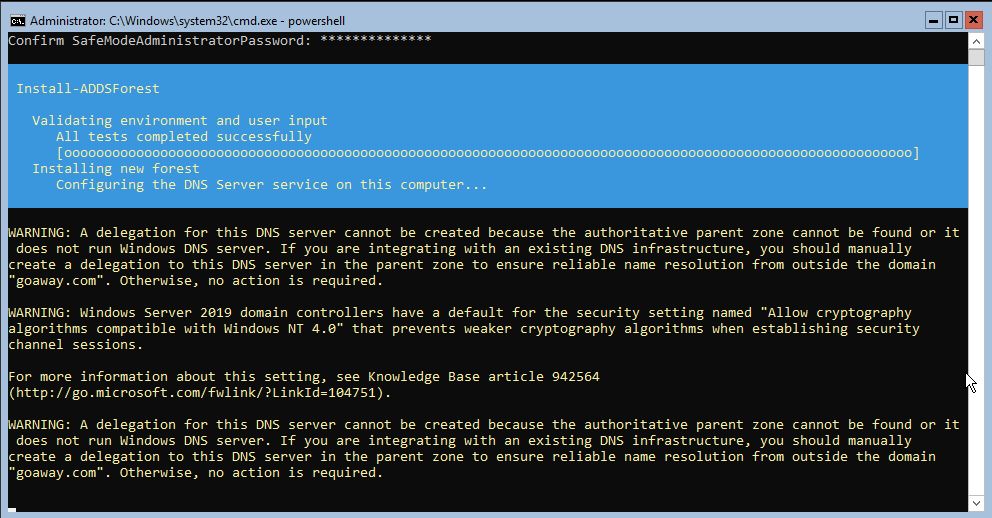
When complete, the server will reboot
When the server comes back up and you go to login, you’ll notice you are now being prompted for your domain administrator credentials.

Now we have succesfully created a domain and we have our first domain controller. The next thing to do is free up some resources. Use sconfig to shut the server down and change it’s memory configuration down to 350MB. You could attempt to go lower than this, but server performance begins to suffer greatly when doing so.
That’s it for the first part of this series. Next we will look at some common configuration like new domain admins, adding a secondary DC and configuring DHCP
